Week 4: Microcontroller Programming
Have you ever walked outside thinking it was warm and sunny, only to be hit with a sudden temperature drop and cold, wet, rain?
The weather in Cambridge is unpredictable.
That's why you need a portable weather station that you can fit in your pocket! (and connect to a computer, through USB)
Materials
To create this portable weather station, you will need
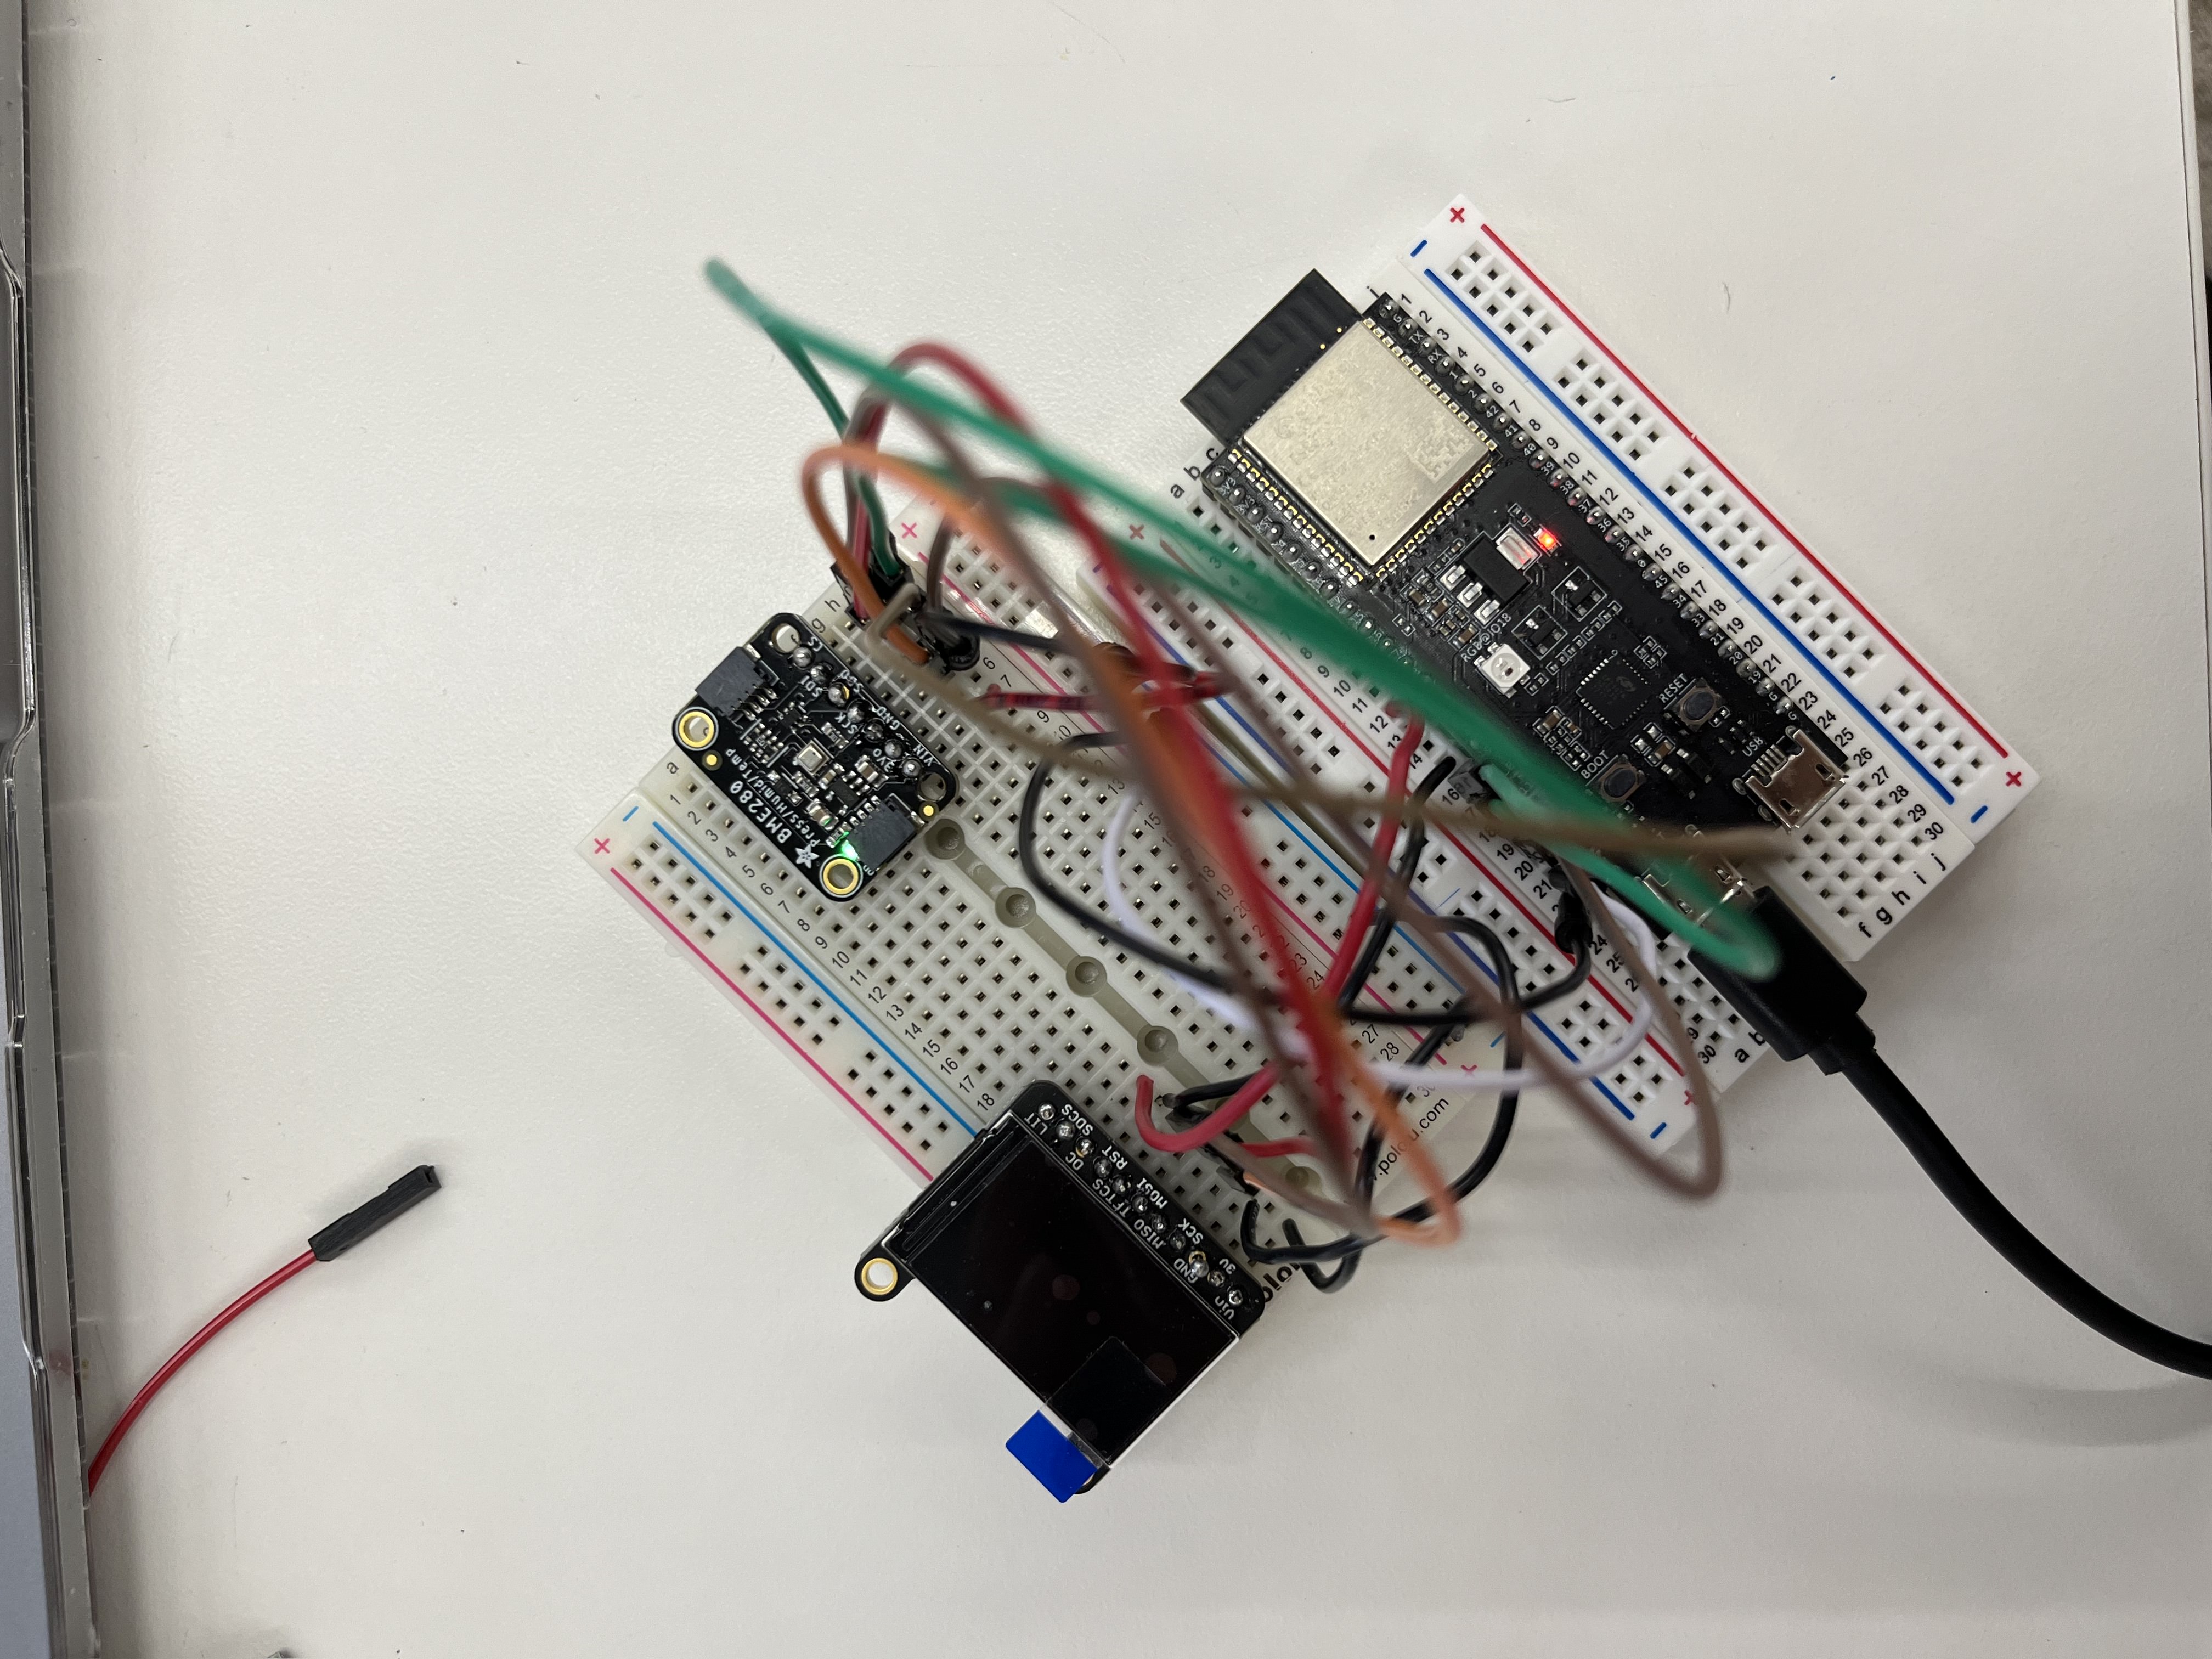
- ESP32S2 or Arduino
- Adafruit BME280
- wires or pin to pin connectors
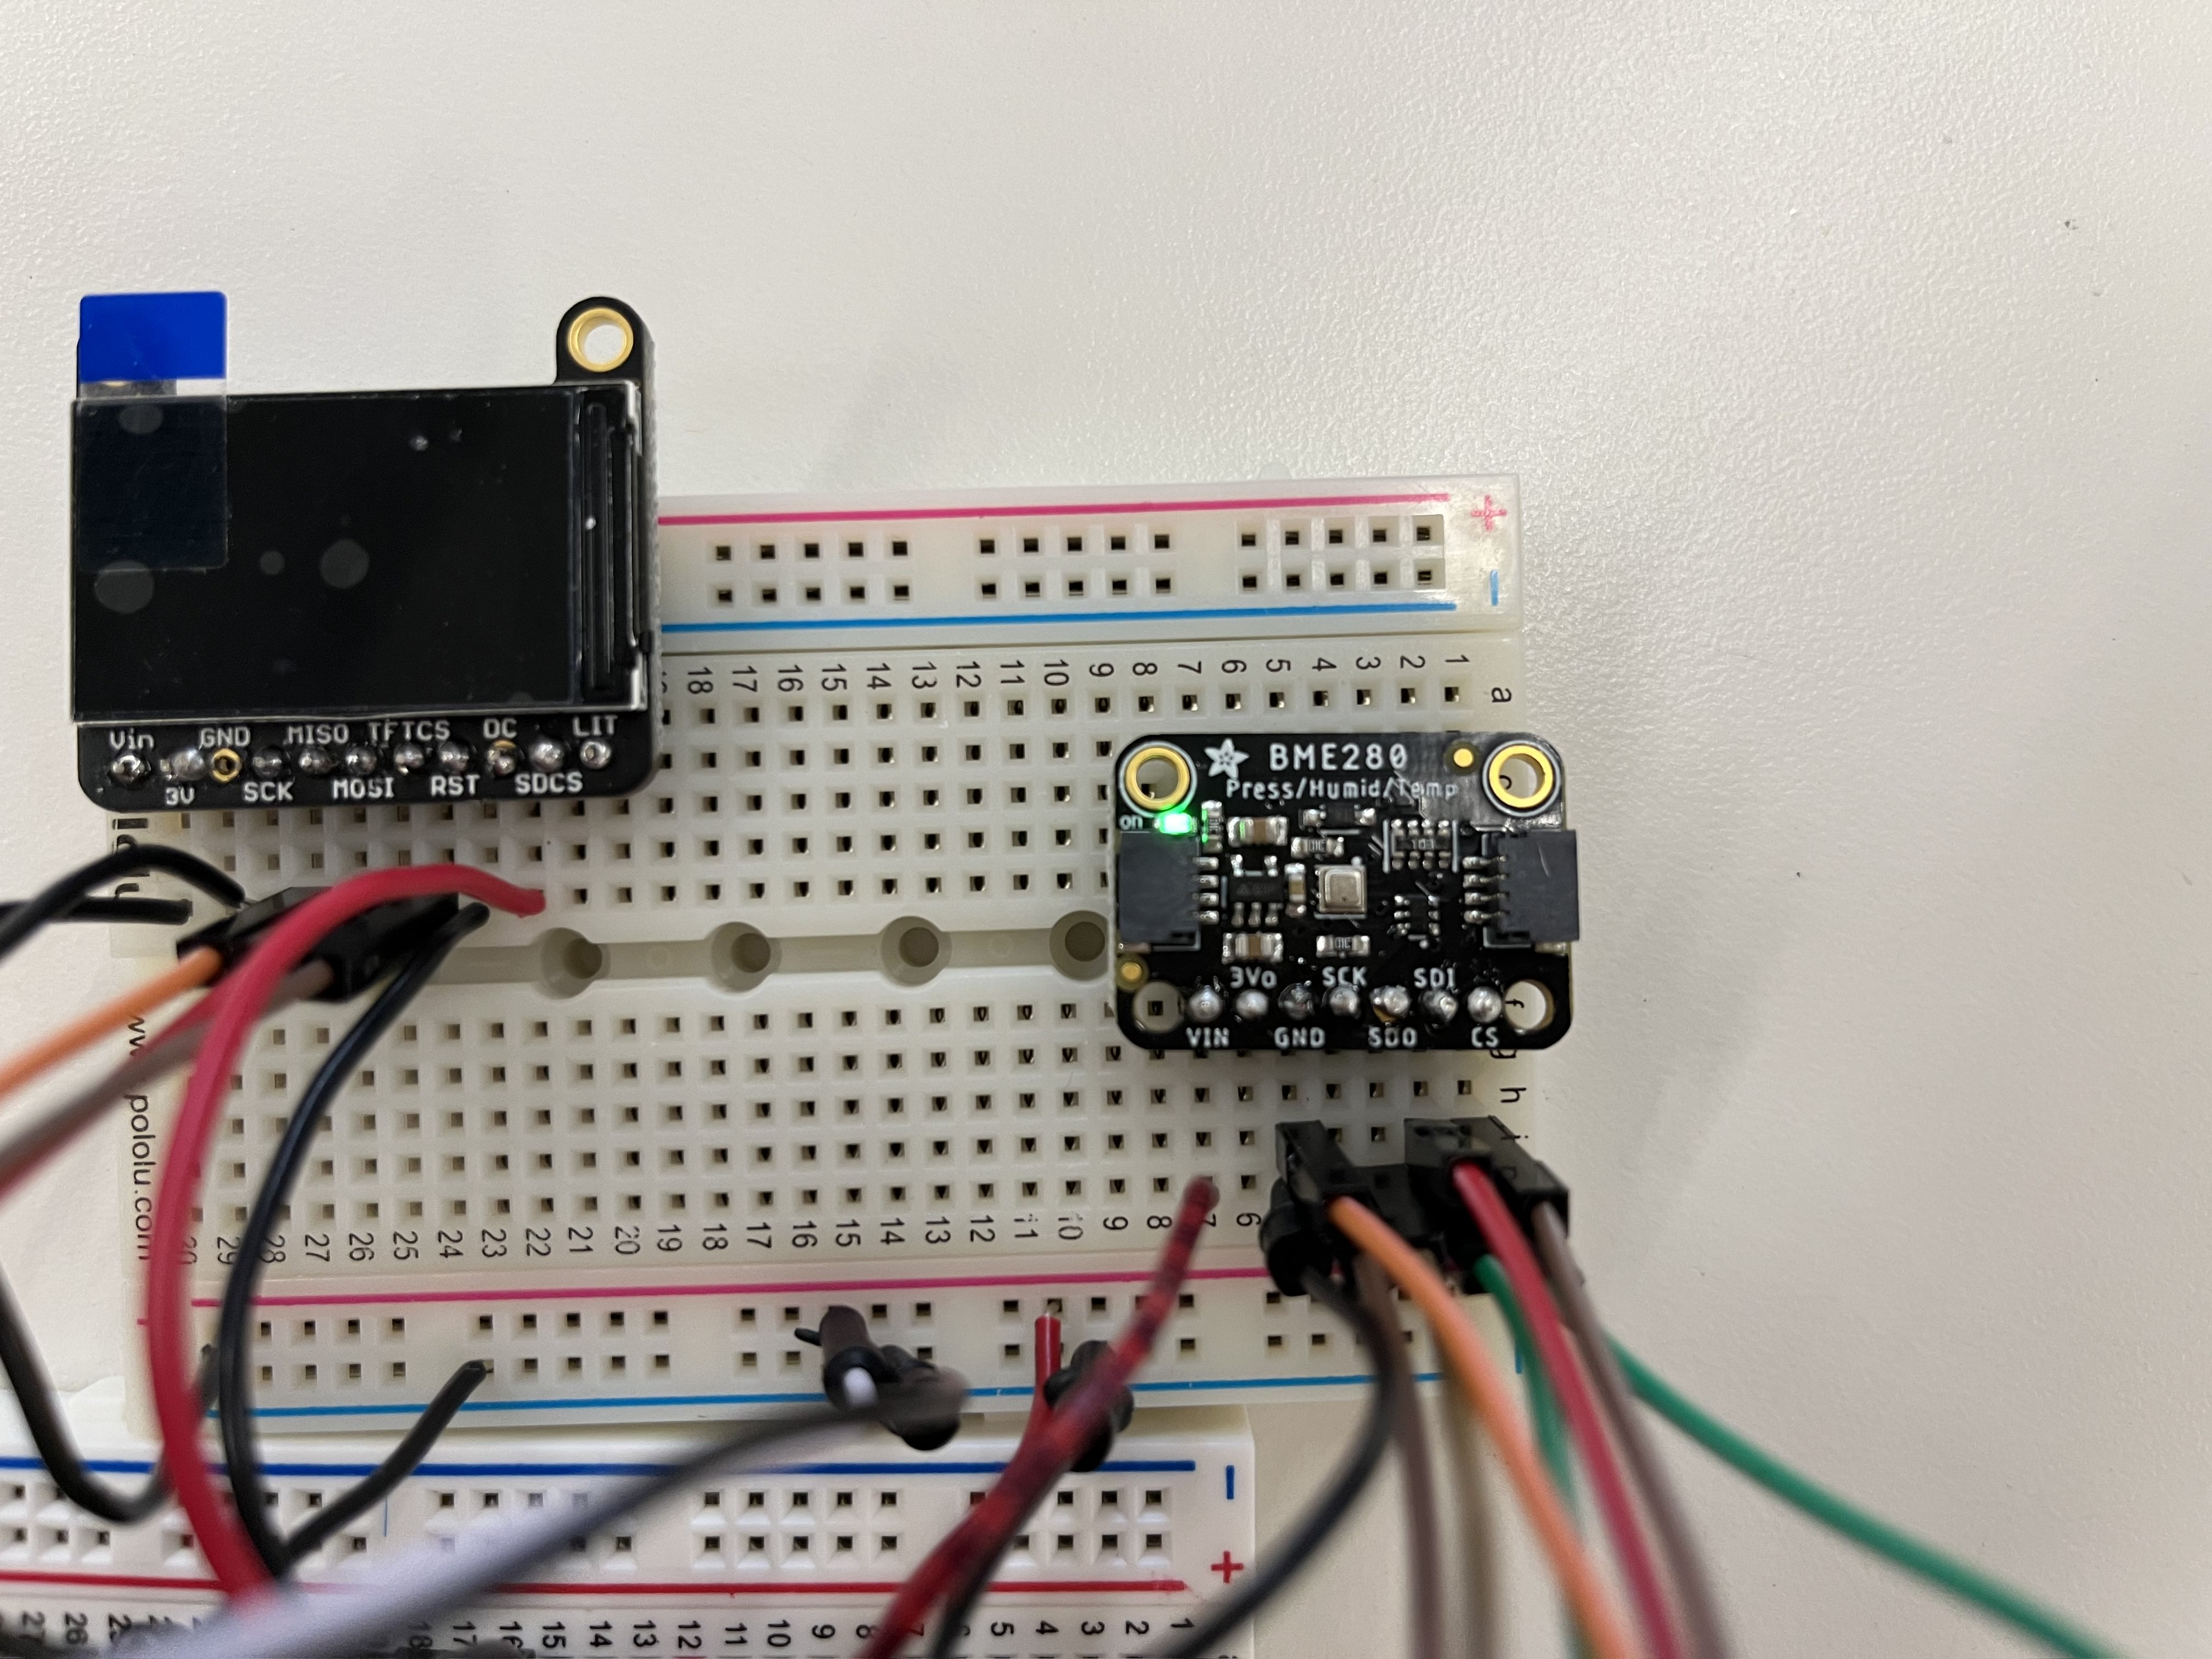
- Adafruit Color TFT display
- Soldering Iron and Solder
- Arduino IDE
How To
-
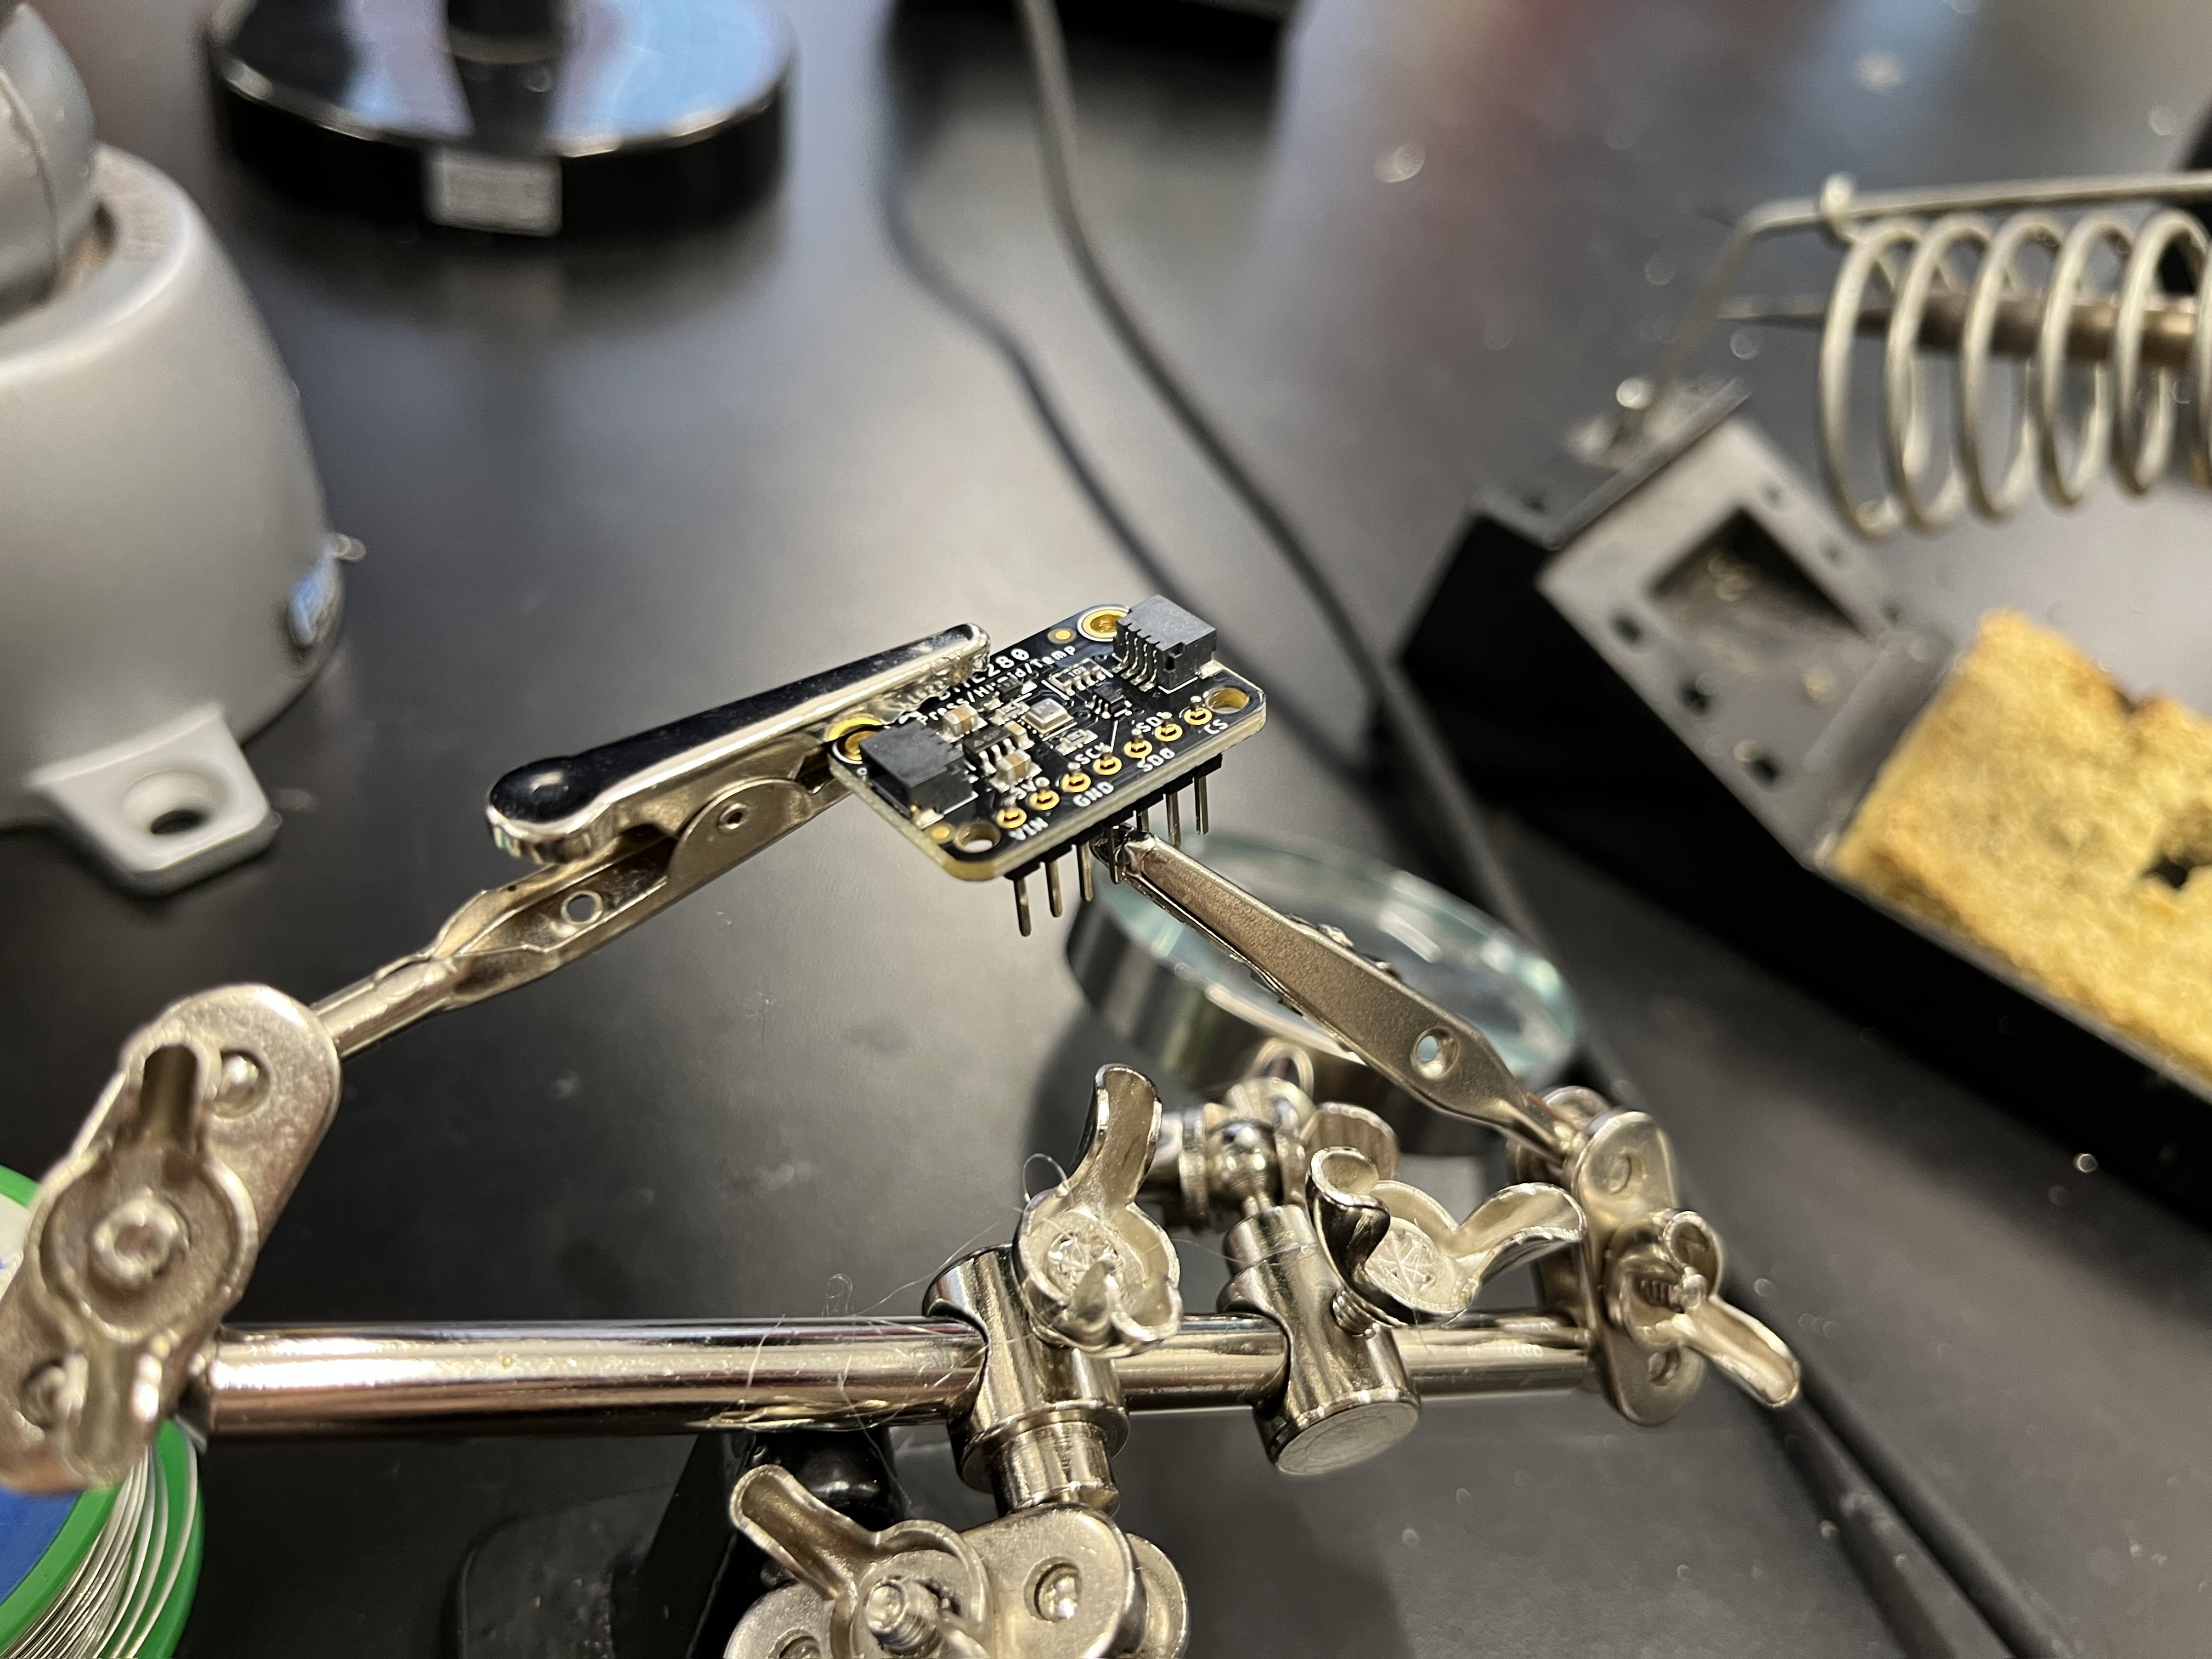
To make the weather station, first solder the pins to the bme280. I would recommend putting the long
ends of the pins into the breadboard to secure the bme280 first before soldering it together. In this image, you can see that I
tried to use the little helping hands to hold the pins in place, but it was much easier just putting it in the board.
-
Then, connect the wires to the ESP32S2 or your microcontroller of choice using documentation like this website!
I connected VIN to 5V, GND to GND, SCK to pin 13, SDO to pin 12, SDI to pin 11, and CS to pin 10, which is the softare SPI wiring.
-
In your Arduino IDE, use the following code in order to map your pins to the correct inputs and outputs, and then call the correct functions that you want to read the temperature.
This code will help test to make sure your bme280 is wired up correctly and also output the correct readings of the weather in the serial monitor.
#include#include #include #include #define BME_SCK 13 #define BME_MISO 12 #define BME_MOSI 11 #define BME_CS 10 #define SEALEVELPRESSURE_HPA (1013.25) // Adafruit_BME280 bme; // I2C //Adafruit_BME280 bme(BME_CS); // hardware SPI Adafruit_BME280 bme(BME_CS, BME_MOSI, BME_MISO, BME_SCK); // software SPI unsigned long delayTime; void setup() { Serial.begin(9600); while(!Serial); // time to get serial running Serial.println(F("BME280 test")); unsigned status; // default settings status = bme.begin(); // You can also pass in a Wire library object like &Wire2 // status = bme.begin(0x76, &Wire2) if (!status) { Serial.println("Could not find a valid BME280 sensor, check wiring, address, sensor ID!"); Serial.print("SensorID was: 0x"); Serial.println(bme.sensorID(),16); Serial.print(" ID of 0xFF probably means a bad address, a BMP 180 or BMP 085\n"); Serial.print(" ID of 0x56-0x58 represents a BMP 280,\n"); Serial.print(" ID of 0x60 represents a BME 280.\n"); Serial.print(" ID of 0x61 represents a BME 680.\n"); while (1) delay(10); } Serial.println("-- Default Test --"); delayTime = 5000; Serial.println(); } void loop() { printValues(); delay(delayTime); } void printValues() { Serial.print("Temperature = "); Serial.print(bme.readTemperature()); Serial.println(" °C"); Serial.print("Pressure = "); Serial.print(bme.readPressure() / 100.0F); Serial.println(" hPa"); Serial.print("Approx. Altitude = "); Serial.print(bme.readAltitude(SEALEVELPRESSURE_HPA)); Serial.println(" m"); Serial.print("Humidity = "); Serial.print(bme.readHumidity()); Serial.println(" %"); Serial.println(); } 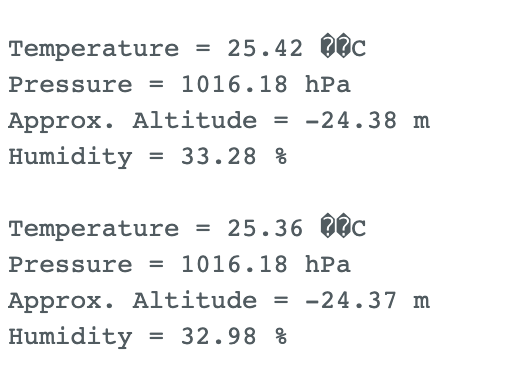
-
The next step of this project would involve displaying the readings on the Color TFT Screen, but unfortunately I did not get the chance to figure that our in time.